Column Menu:
This design includes an option to set the menu to a column format. If not using the menu will display like a normal horizontal menu. First you must choose your option in the "theme specific" area of Vertex. If you choose the standard layout no other configuration is needed. If you choose the column layout then you'll just need to add a menu item spacer where you desire to break the columns. See the below image on how to do this but be sure the class "spacerlink" is added.

Code used:
<span class="s5_uppercase smallfont">Hi, my name is Ali and I love Photography</span> <br /> <span class="s5_highlightfont largefont s5_uppercase"> We're a <span class="s5_highlightcolor1">photography </span> agency that believes<br />a photo can tell a <span class="s5_highlightcolor1">story</span>. </span>
Intro text:
This area is created with a custom html module published to the custom_1 position.
Code used:
<span class="s5_uppercase smallfont">Hi, my name is Ali and I love Photography</span> <br /> <span class="s5_highlightfont largefont s5_uppercase"> We're a <span class="s5_highlightcolor1">photography </span> agency that believes<br />a photo can tell a <span class="s5_highlightcolor1">story</span>. </span>
Photo Showcase Setup:
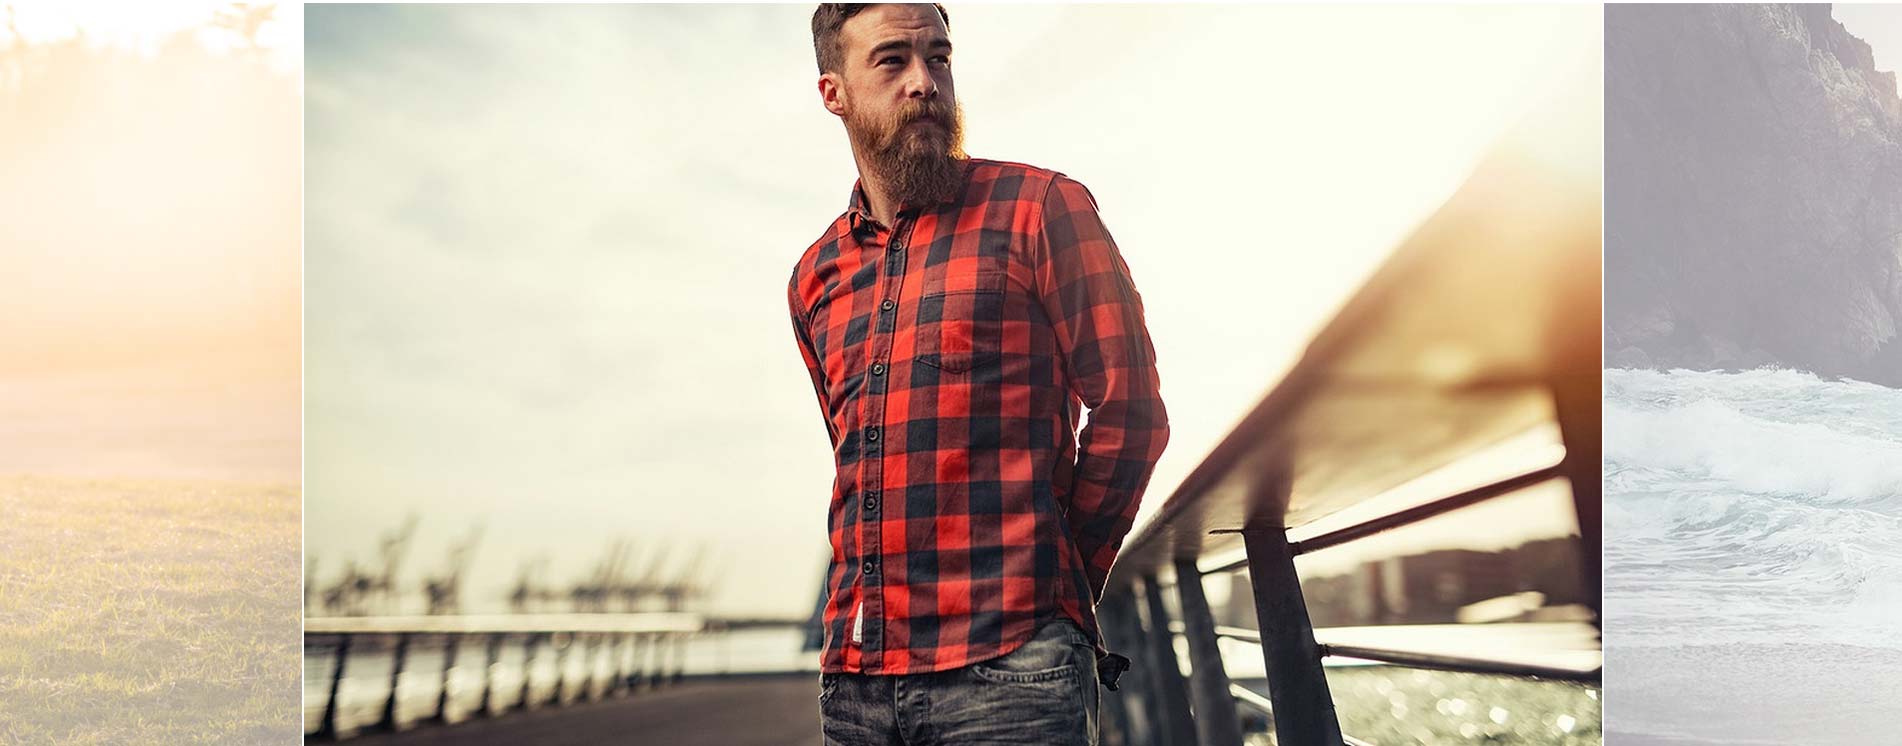
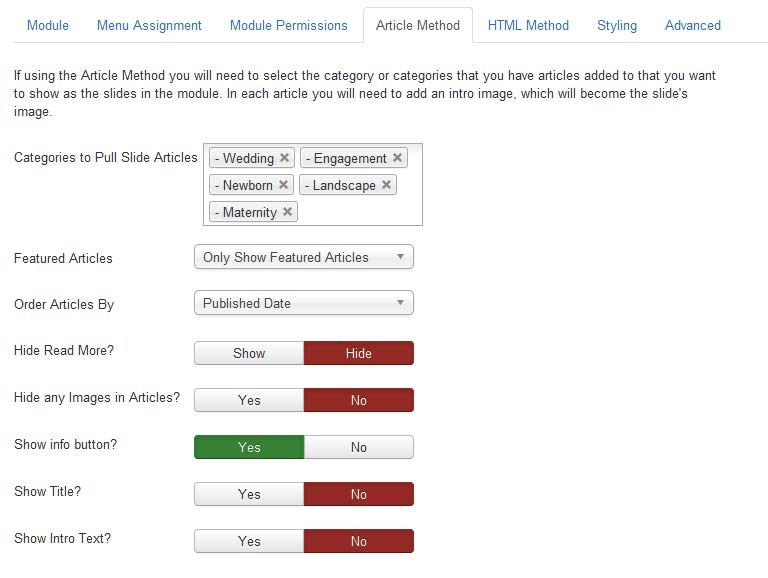
For the demo we set the module up using the "article" method. The active image width is 6, the max width 1300 and the duration 6. We then set the below settings on the article page. Please reference the admin screenshot image below. For each article we just added an intro image to the "intro image" area. This is the image that will show up in the Photo Showcase module slider you must enter a intro image for each article in order for it to show. Lastly the images we used for each intro image and that display in the Photo Showcase module are all set to the dimensions of 1303x746. You can set to the dimensions you desire but we do recommend setting keeping all the images the same height/width once you choose. If you have taller or wider images just leave white or black space around them in a photo editing program.For setup instructions of this extension please visit http://www.shape5.com/documentation/Joomla/Extensions/S5-Image-and-Content-Fader
Testimonials:
This is the tab show published to the custom_4 position, but can be published to almost any row positions. The below code is a sample of one of the custom HTML modules published to the 4 tab show positions: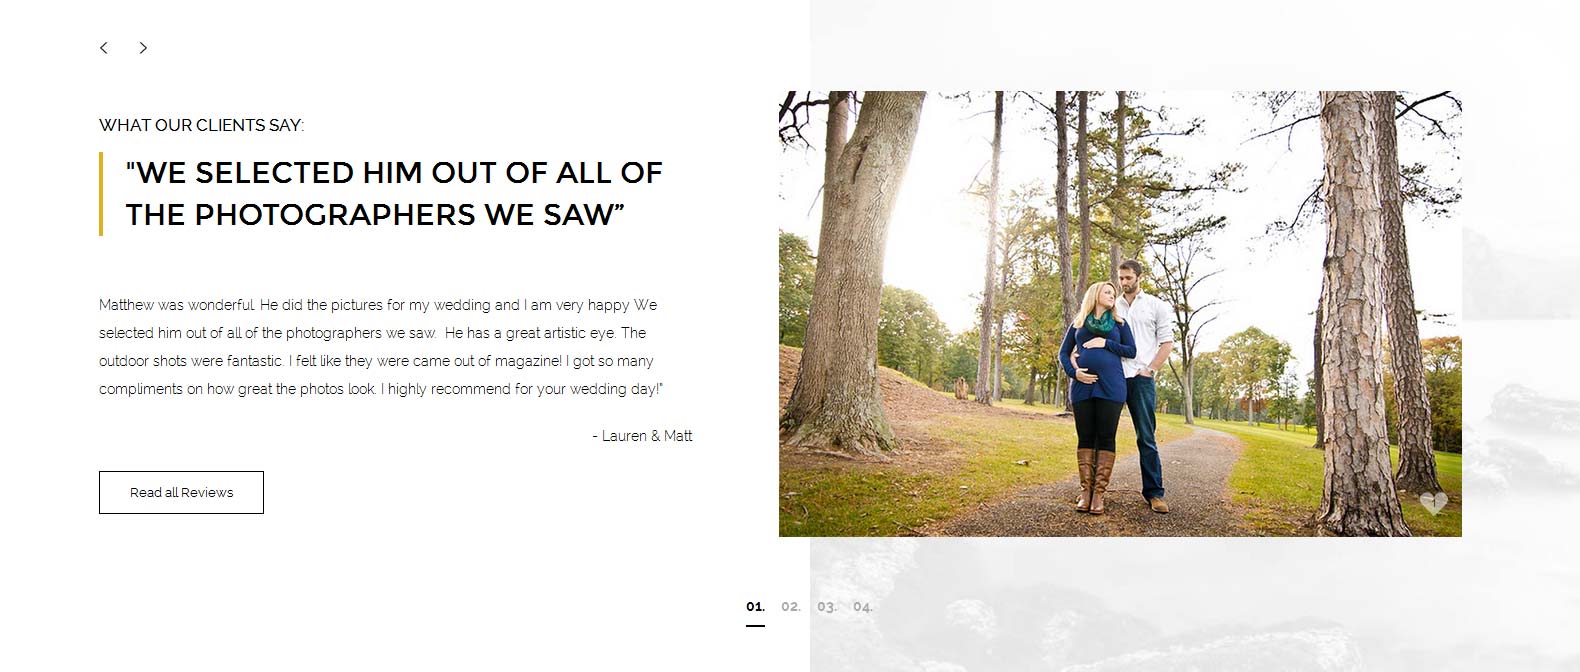
Code used for this area:
<div class="testimonial_left">
<div class="testimonial_padding">
<span class="s5_uppercase smallfont">What our clients say:</span> <span class="s5_highlightfont largefont s5_uppercase s5_highlightline">"We selected him out of all of the photographers we sawâ </span><br /><br /> Matthew was wonderful. He did the pictures for my wedding and I am very happy We selected him out of all of the photographers we saw. He has a great artistic eye. The outdoor shots were fantastic. I felt like they were came out of magazine! I got so many compliments on how great the photos look. I highly recommend for your wedding day!â?? <br /><span class="s5_signature"> - Lauren & Matt</span>
<br /> <a class="readon" href="#">Read all Reviews</a>
</div>
</div>
<div class="testimonial_right">
<div class="testimonial_padding">
<img src="images/testimonial1.jpg" alt="testimonial1" class="likeme"/>
</div>
</div>
<div style="clear:both;"></div>
<div class="testimonial_padding">
<span class="s5_uppercase smallfont">What our clients say:</span> <span class="s5_highlightfont largefont s5_uppercase s5_highlightline">"We selected him out of all of the photographers we sawâ </span><br /><br /> Matthew was wonderful. He did the pictures for my wedding and I am very happy We selected him out of all of the photographers we saw. He has a great artistic eye. The outdoor shots were fantastic. I felt like they were came out of magazine! I got so many compliments on how great the photos look. I highly recommend for your wedding day!â?? <br /><span class="s5_signature"> - Lauren & Matt</span>
<br /> <a class="readon" href="#">Read all Reviews</a>
</div>
</div>
<div class="testimonial_right">
<div class="testimonial_padding">
<img src="images/testimonial1.jpg" alt="testimonial1" class="likeme"/>
</div>
</div>
<div style="clear:both;"></div>
Our Latest Photoshoots:
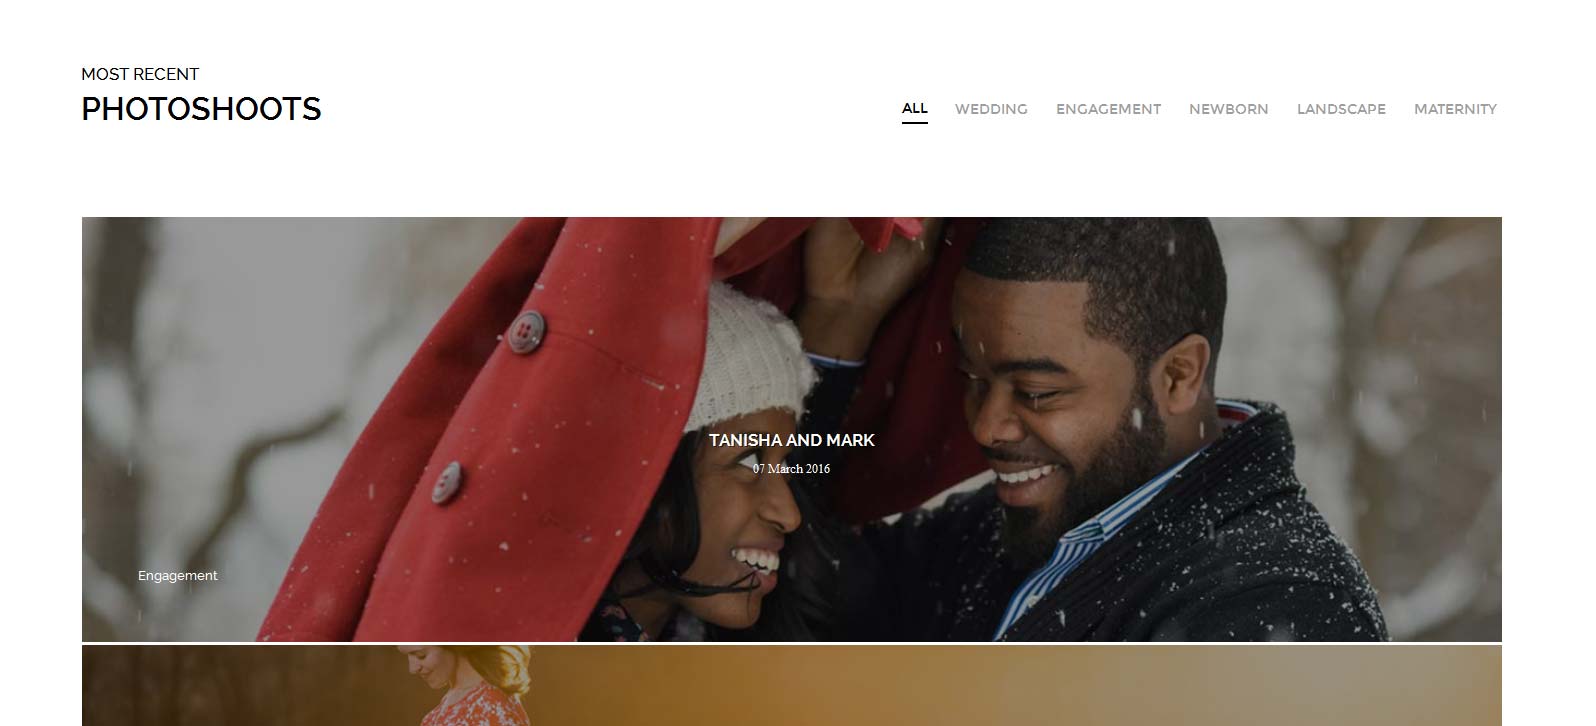
This is the Masonry module that is published to the top_row2_1 position, but can be published to almost any row of positions. The module is set to "hover" in the admin area with item widths set to 33%. For the Photoblog page we did the same thing but instead of hover we set it to "overlay" and item widths set to 100%:
Our Photographers
This is the tab show published to the custom_5 position, but can be published to almost any row positions. The below code is a sample of one of the custom HTML modules published to the 2 tab show positions: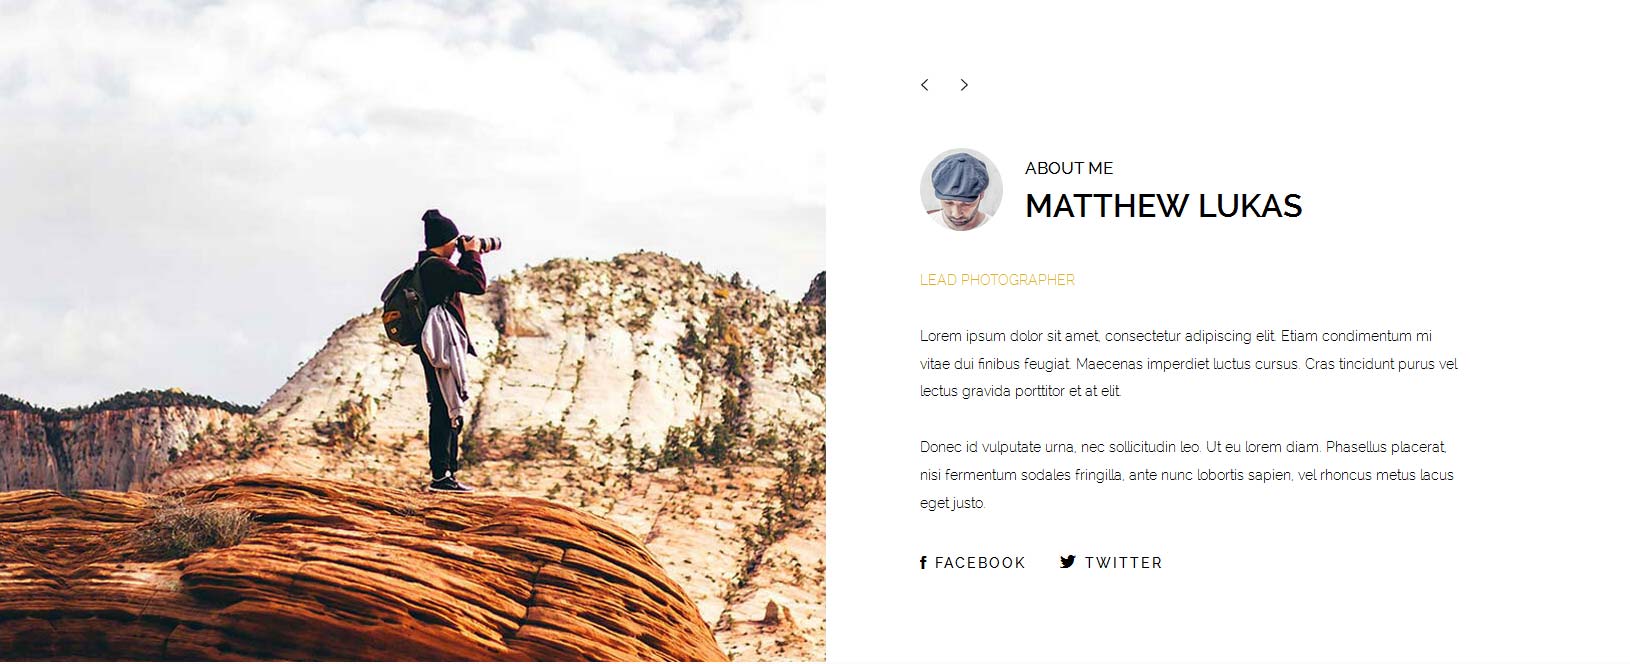
Code used for this area:
<div style="float:left;margin-right: 22px;">
<div class="rounded_image">
<img alt="success student" src="images/photographer1.jpg">
</div>
</div>
<div style="float:left; margin-top: 4px;">
<h3 class="s5_mod_h3">
<span class="s5_h3_first">About Me</span>
<span class="s5_h3_last uppercase">Matthew Lukas</span>
</h3>
</div>
<div style="clear:both;"></div>
<span class="s5_highlightcolor1 uppercase">Lead Photographer</span>
<br><br> Lorem ipsum dolor sit amet, consectetur adipiscing elit. Etiam condimentum mi vitae dui finibus feugiat. Maecenas imperdiet luctus cursus. Cras tincidunt purus vel lectus gravida porttitor et at elit. <br><br> Donec id vulputate urna, nec sollicitudin leo. Ut eu lorem diam. Phasellus placerat, nisi fermentum sodales fringilla, ante nunc lobortis sapien, vel rhoncus metus lacus eget justo. <br><br>
<a class="social_icon ion-social-facebook"><span>Facebook</span></a> <a class="social_icon ion-social-twitter"><span>Twitter</span></a>
Get in Touch with Me:
This is a custom HTML module published to the bottom_row2_1 position with the module class of "right-padding" added to it.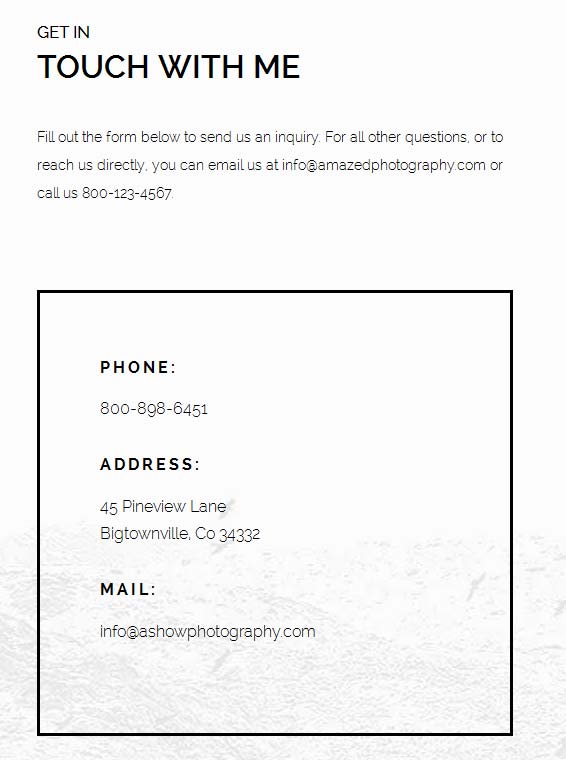
Code used:
Fill out the form below to send us an inquiry. For all other questions, or to reach us directly, you can email us at info@amazedphotography.com or call us 800-123-4567.<br /> <br /><br /><br />
<div class="s5_boxedborder"><span class="uppercase"><strong>Phone:</strong></span><br /> 800-898-6451<br /><br /> <span class="uppercase"><strong>Address:</strong></span><br /> 45 Pineview Lane<br /> Bigtownville, Co 34332<br /><br /> <span class="uppercase"><strong>Mail:</strong></span><br /> info@ashowphotography.com<br /><br /></div>
Quick Contact:
This is the quick contact module published to the bottom_row2_2 module position with the module class suffix of "top-padding" added to it.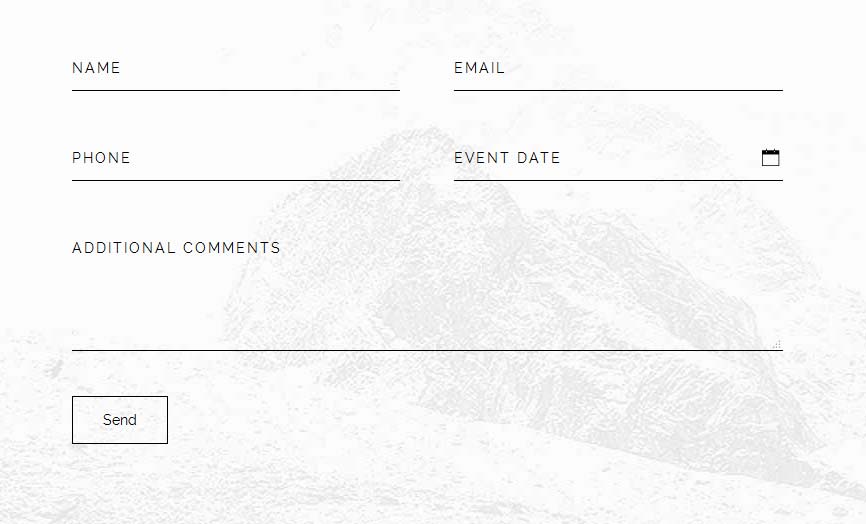
Social Icons:
This is a custom html module that is published to the custom_3 position, but can be published to various positions.
Code used for this area:
<center><a class="social_icon ion-social-facebook"><span>Facebook</span></a> <a class="social_icon ion-social-twitter"><span>Twitter</span></a> <a class="social_icon ion-social-googleplus"><span>Google +</span></a> <a class="social_icon ion-social-pinterest"><span>Pinterest</span></a></center>


